Popular Posts
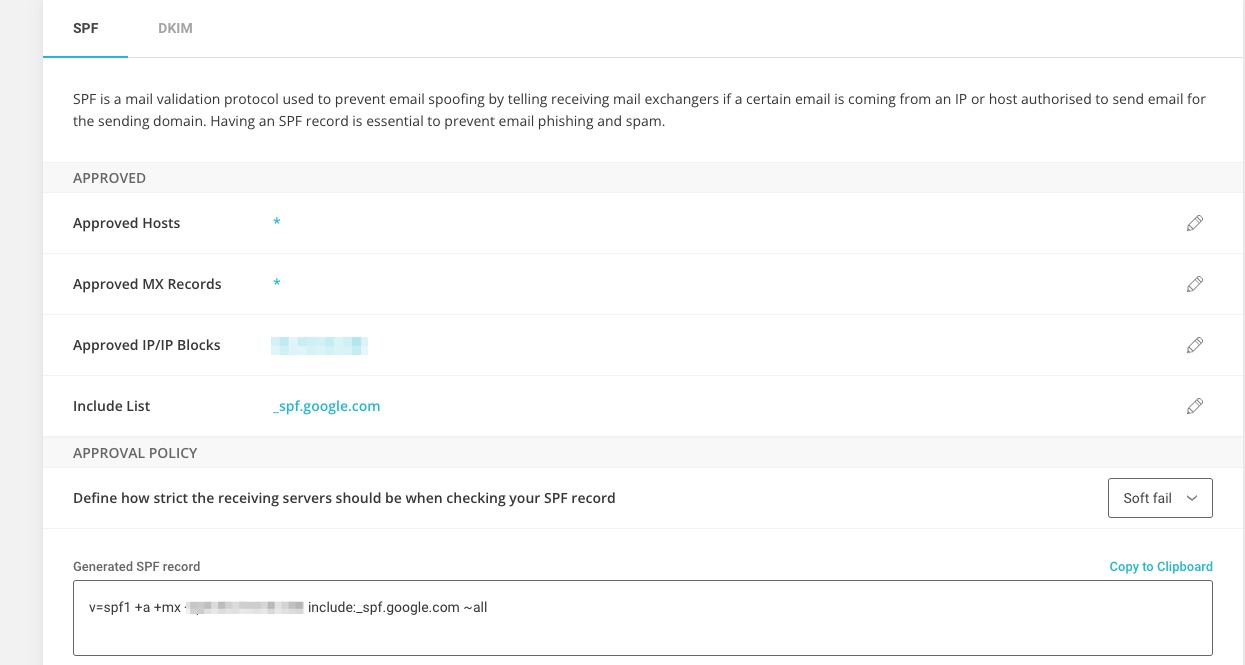
Configure your email and create an SPF record on Siteground

E-mail’s ending up SPAM?
Its infuriating isn’t it? You’ve got your new Siteground account and everyone has told you that they are the best hosting provider and your troubles are now over. However, when you begin to send e-mails you discover that people just aren’t receiving them. How can that be?
Configure your Siteground account
Well, the problem is that Siteground set everything up for you but you need to ensure that your mail doesn’t end up in SPAM
This tutorial is going to show you how to ensure that the e-mail account you have on Siteground is set up properly.
Log into your account and head to Site Tools
Siteground currently uses it’s own Site Tools to control the server environment
Go to siteground.co.uk
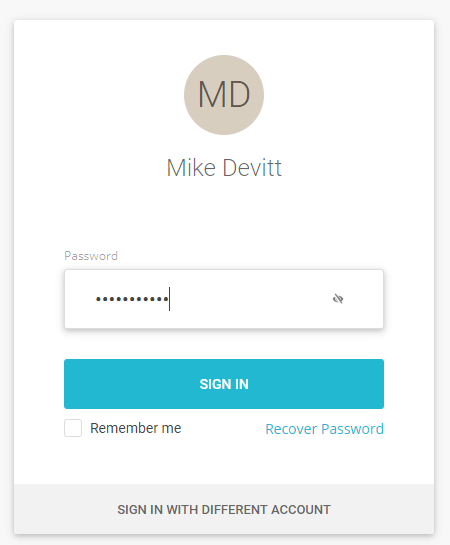
Login to Siteground using the credentials you used when you first signed up for your account.
Site Tools
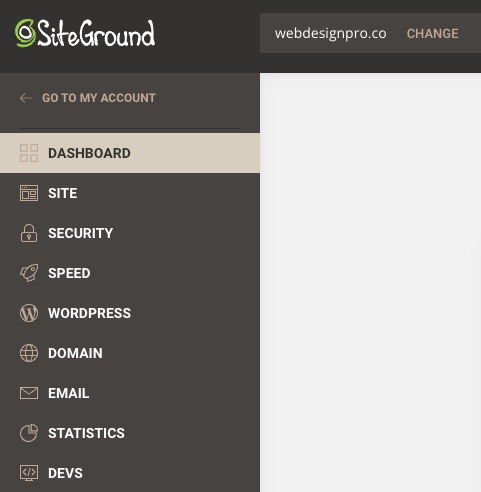
Then head over to your Site Tools Dashboard
SPAM Protection
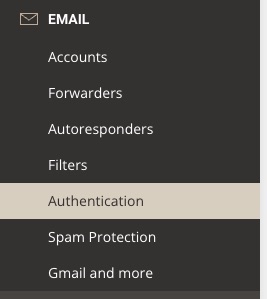
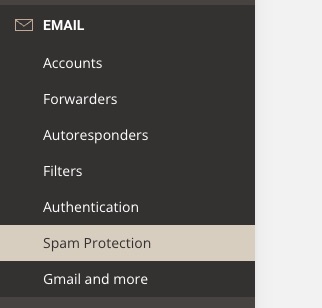
Head down to the EMail section and click on Spam Protection – See screenshot
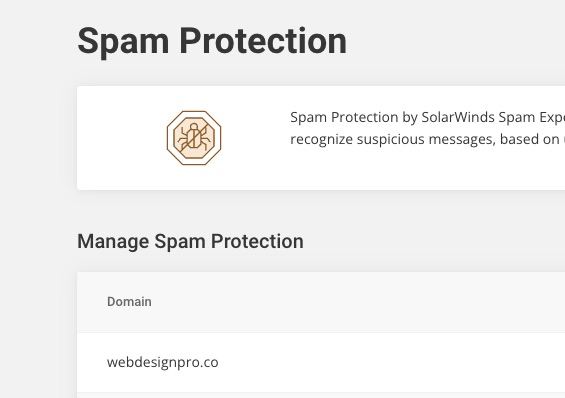
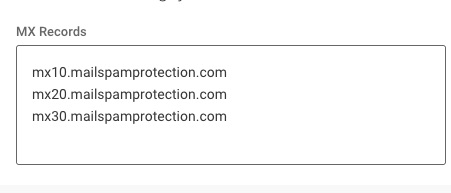
Then ensure that SPAM Protection is selected and ensure the following records are added
mx10.mailspamprotection.com
mx20.mailspamprotection.com
mx30.mailspamprotection.com
Email Authentication
Then go back to the menu and the mail section and go to Email Authentication
