Preparing and Importing an Excel Spreadsheet for Mailchimp
A Web Design Pro.co step by step guide
Introduction
The task of preparing an excel spreadsheet for importing e-mail addresses into Mailchimp can be completed using the process below
The Excel Spreadsheet
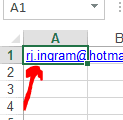
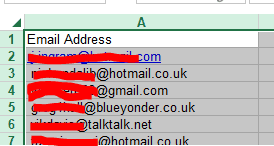
Usually, the excel spreadsheet will be formatted with the e-mails being presented in a single cell in one row.

We need to change this so that the e-mail addresses are in a column and also that the headings at the top of the spreadsheet all conform with the Mailchimp rules for import.
To achieve this we need to complete the following
Highlight the cell in A1
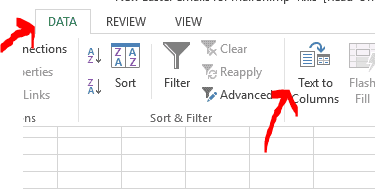
And Select DATA and TEXT TO COLUMNS
And you will then see the following screen where you need to select DELIMITED
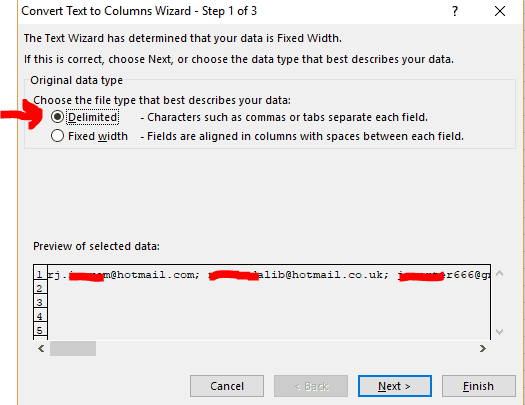
Click NEXT
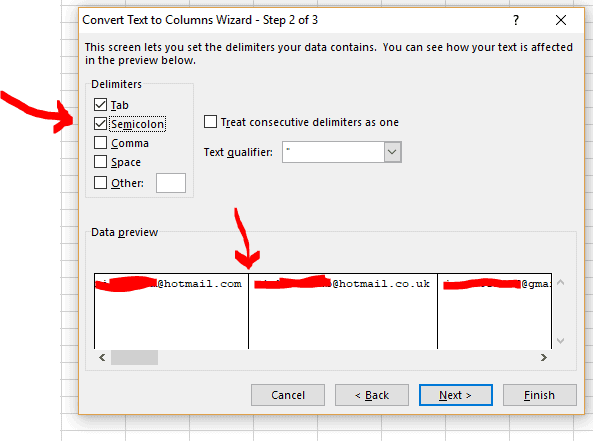
Now you will be presented with the following screen where you need to select the tick box next to semi colon
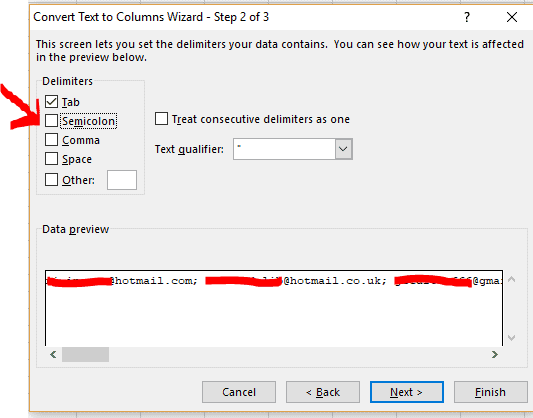
Once you have ticked the box the DATA PREVIEW will change
You can now click next and you will see this screen
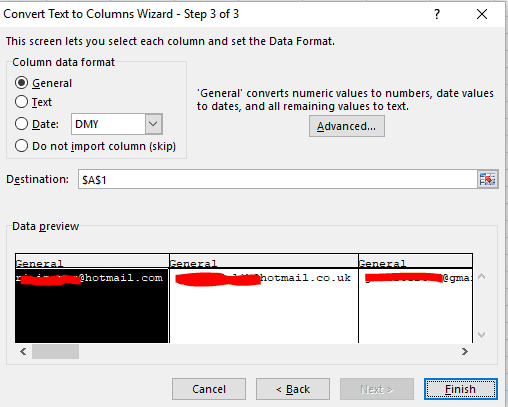
Ensure the default of GENERAL is selected and then click FINISH
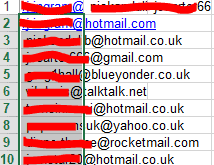
You will now see that each e-mail has been separated into it’s own separate column
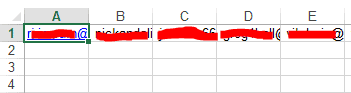
OUR NEXT STEP IS TO CONVERT THESE E-MAIL ADDRESSES INTO ROWS
The Excel Spreadsheet – Convert Column to Row
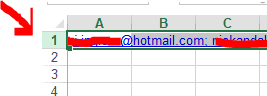
So with our e-mails in their separate columns, we need these e-mails converting to a row
So, we now highlight the row
And then right click and click copy
Then select the second cell in A2
right click again and then click the Transpose option
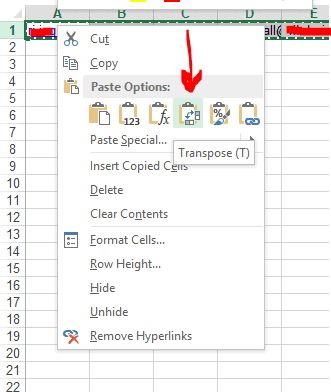
And all the e-mail will now be moved into separate rows
We need now to delete the Text in Row 1
Highlight the row again
and Click the Delete key on your keyboard.
The Excel Spreadsheet – Formatting the spreadsheet for Mailchimp
Now that the DATA is formatted the way that we want it to be, we need to add a heading to the first column so that Mailchimp will allow us to import the e-mail addresses.
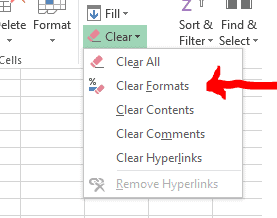
But first the formatting of the row may need clearing.
To do this, select the first Row (A Row)
![]()
And then on the HOME tab click the small dropdown arrow next to the clear button and select Clear Formats
Then type into the cell in A1 immediately above your email address the exact wording and spacing below
![]()
The Excel Spreadsheet – Saving the worksheet or file for Mailchimp
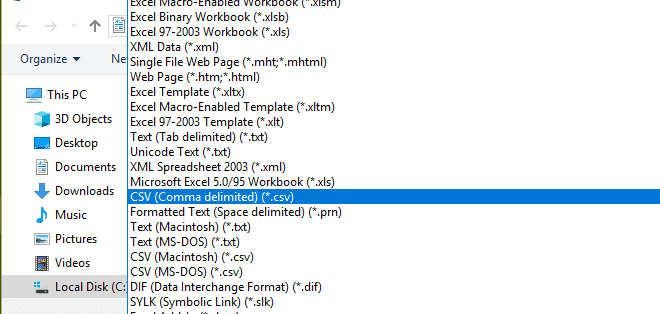
If the spreadsheet only has one worksheet in it then Click File and Save As and then select .CSV comma separated file
If the spreadsheet has more than one worksheet – COPY The entire worksheet to a new spreadsheet by selecting all the data by clicking in the top left hand corner of the spreadsheet
Right Click anywhere on the spreadsheet and Click COPY
Then Click File–New–Blank Workbook and right click in Cell A1 and click Paste.
Then Save the file as a Comma Separated File with a file name that you will recognise.
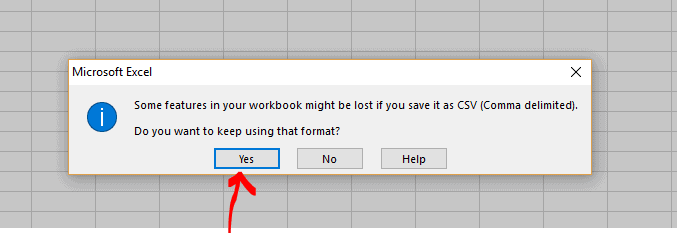
If you get this error message, just click Yes
Now you’re ready to import this into Mailchimp
The Excel Spreadsheet – Importing a list into Mailchimp
Login to Mailchimp and go to the following link:
https://mailchimp.com/help/import-subscribers-to-a-list/
Once you are on the above link scroll down to where it says IMPORT TO MAILCHIMP and follow those instructions.
You will now choose the CSV file that you created and add it to the list of your choice. For example,if you created a list called Maidstone2018 then import this list into the correct list by clicking Lists in Mailchimp, and then select the list of your choice, click ADD CONTACTS and IMPORT CONTACTS
Select the CSV format and select the file that you have saved and scroll down to the bottom and click IMPORT
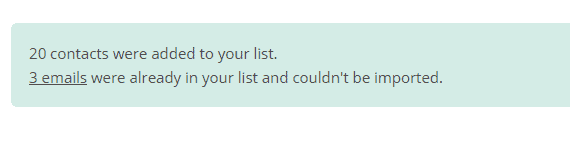
You may see this message on completion which will tell you how many of your e-mail addresses were already in your subscription list.
Read other articles from Web Design Pro
Read some of our latest articles about how AI Overviews affects the search engine results pages and what you can do to keep your business traffic coming in